Introduction
The vast expanse of the universe has always captivated the human imagination. With its infinite possibilities and celestial wonders, it continues to inspire awe and curiosity. For space lovers, embarking on a Solar System DIY project is a fantastic way to bring the mysteries of the cosmos closer to home. By creating a scale model of the solar system, enthusiasts can gain a deeper understanding of our celestial neighborhood while indulging their creative instincts. This article will provide a comprehensive guide to undertaking a Solar System DIY project, offering step-by-step instructions and valuable insights along the way.
Table of Contents
Choosing the Right Materials
To begin your Solar System DIY project, it is crucial to select the right materials. Start with a sturdy base, such as a large foam board or wooden panel, which will serve as the foundation for your model. Next, gather a variety of materials, including foam balls, paints, paintbrushes, and adhesive. Consider using different-sized foam balls to represent the planets accurately. Additionally, choose paints that closely resemble the colors of the planets, as depicted in scientific imagery. Opt for acrylic paints for their durability and ease of use. Finally, ensure that you have a clear adhesive that can securely attach the planets to the base without leaving any marks.
Planning and Designing Your Model
Before diving into the construction phase, take some time to plan and design your Solar System DIY project. Start by researching the relative sizes and distances of the planets from the sun. This information will help you determine the scale and spacing of your model. Consider using a scaled-down ratio, such as 1:10 billion, to ensure an accurate representation. Sketch a layout for your model, marking the positions of the planets and their orbits. This step will help you visualize the final result and identify any potential challenges.
Constructing the Planets
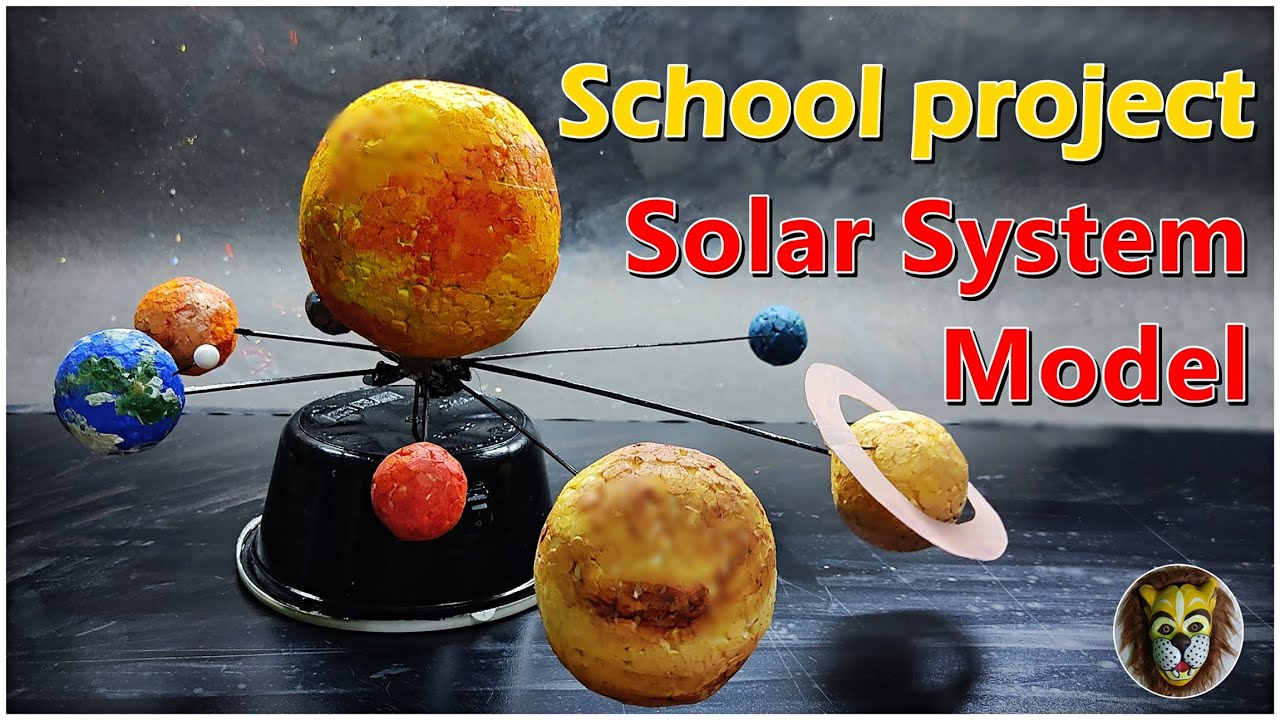
Now that you have your materials and a clear plan, it’s time to construct the planets for your Solar System DIY project. Begin by preparing each foam ball by sanding its surface lightly to ensure better paint adherence. Then, apply a base coat of paint to each ball, using the colors that correspond to the planets. Remember to reference scientific images or illustrations for accuracy. Once the base coat is dry, add details such as planetary rings or surface features using smaller brushes and different shades of paint. Take your time and be patient, as these details will contribute to the overall realism of your model. Allow the planets to dry completely before moving on to the next step.
Assembling the Solar System
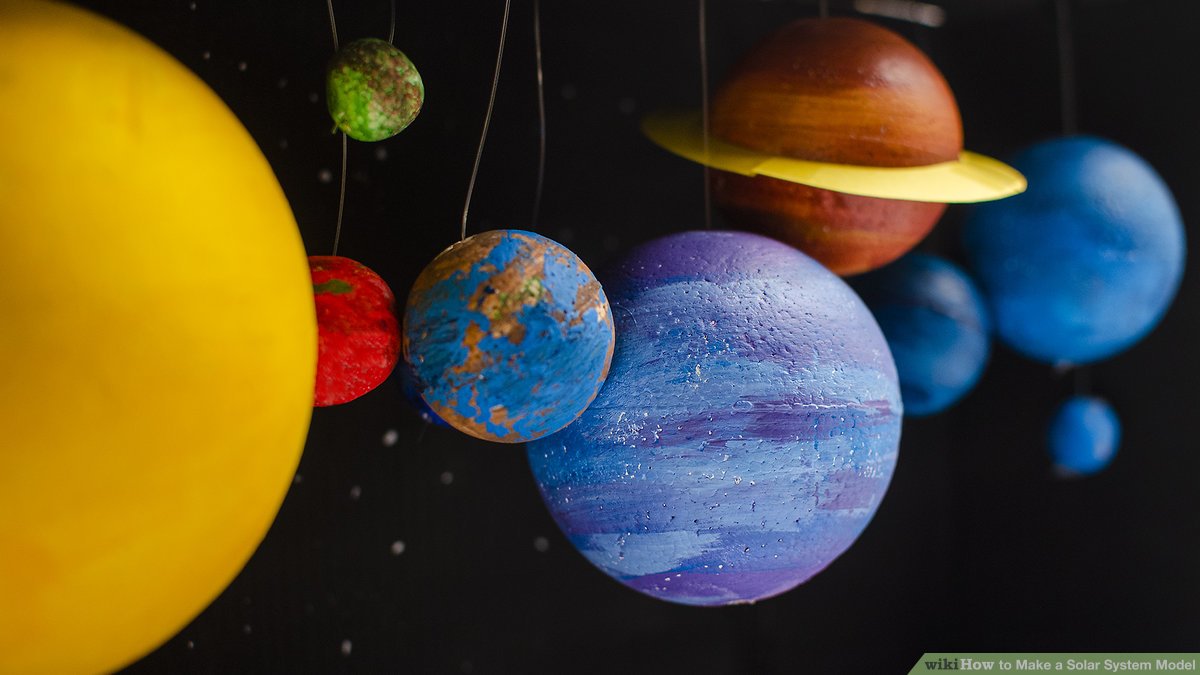
With the planets ready, it’s time to assemble your Solar System DIY project. Begin by attaching the sun, which can be represented by a larger foam ball painted in a vibrant yellow or orange hue, at the center of your base. Use adhesive to secure it firmly in place. Next, position the planets according to your planned layout, ensuring that the distances and spacing are proportional to their actual positions in the solar system.
Attach each planet to the base using adhesive, taking care to align them correctly. Consider using thin, transparent wires to suspend the planets slightly above the base, creating a floating effect. This technique can add an extra touch of realism to your model. Once all the planets are in place, step back and admire your handiwork.
Adding the Finishing Touches
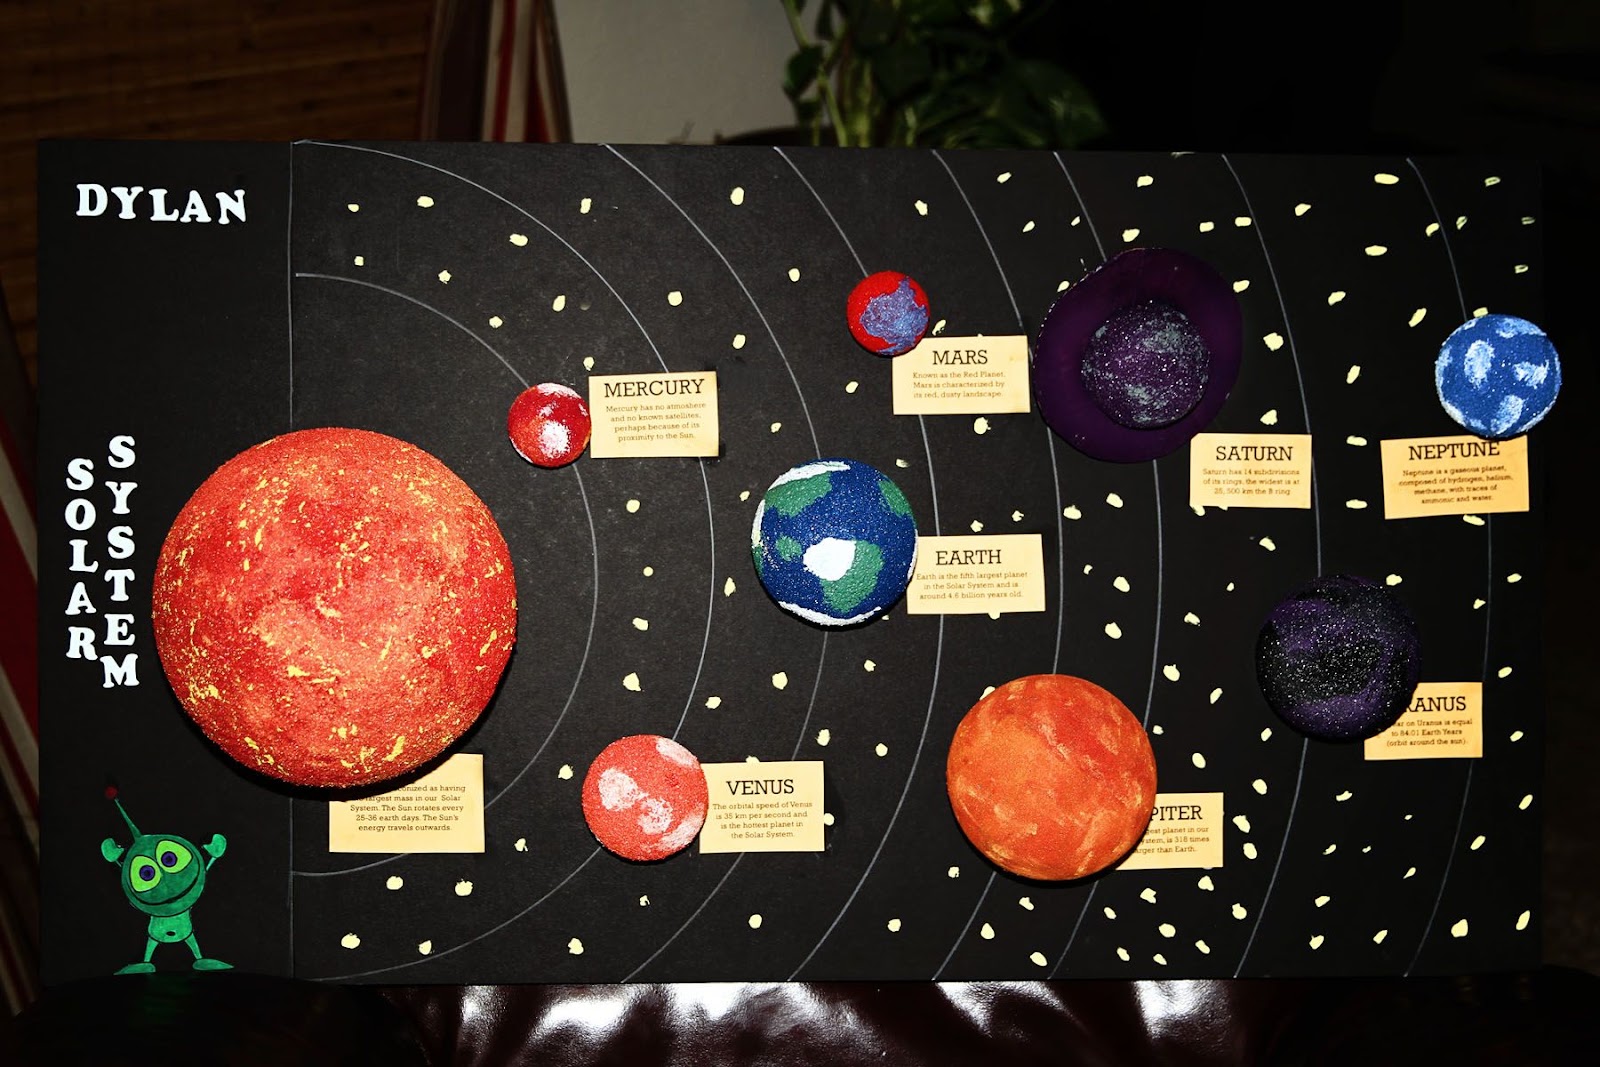
To enhance the visual appeal of your Solar System DIY project, consider adding some finishing touches. You can create a backdrop by painting a large poster board or canvas with a celestial scene, such as stars or galaxies. Hang this behind your model to create a captivating backdrop that complements the overall theme. Additionally, you may want to incorporate LED lights to simulate the sun’s glow or create a soft ambiance. Strategically place the lights around the sun, allowing them to cast a gentle glow on the planets.
Experiment with different lighting arrangements to achieve the desired effect. Finally, consider labeling each planet with its name using small, printed labels or handwritten signs. This will not only enhance the educational aspect of your model but also make it visually appealing.
Displaying and Sharing Your Creation
Once your Solar System DIY project is complete, it’s time to showcase your creation and share it with others. Choose a prominent location in your home, such as a bookshelf or display cabinet, where your model can be easily admired. Ensure that it is safely secured to prevent any accidental damage or mishaps. Consider organizing a small exhibition or gathering to showcase your model to family, friends, or fellow space enthusiasts.
This will provide an opportunity to share your knowledge and passion for the universe, sparking interesting conversations and inspiring others. Additionally, you may want to document your project through photographs or videos and share them on social media or online forums dedicated to DIY projects or astronomy. By sharing your journey and experiences, you can inspire and motivate others to embark on their own Solar System DIY projects.
Conclusion
Embarking on a Solar System DIY project is a fulfilling and educational endeavor for space lovers. By meticulously constructing a scale model of the solar system, enthusiasts can gain a deeper appreciation for the vastness and complexity of our celestial neighborhood. With careful planning, attention to detail, and creative flair, you can bring the wonders of the universe closer to home.
Remember to choose the right materials, construct the planets accurately, assemble them in their proper positions, add finishing touches, and proudly display your creation. Sharing your project with others will not only showcase your achievement but also inspire and ignite the curiosity of those around you. So, gather your materials, unleash your creativity, and embark on an unforgettable journey through the cosmos with your very own Solar System DIY project.
Learn about: Elevate your space with stylish home decor for pets and pet lovers, creating a harmonious environment that celebrates your furry companions.